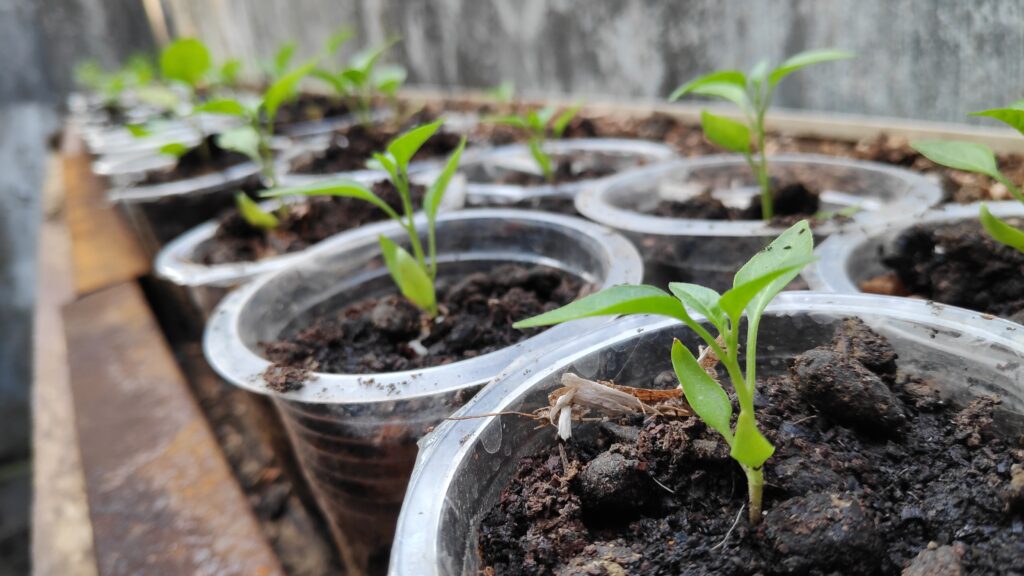
A Spice Revolution: How to Grow Chilies in Plastic Bottles (Step-by-Step Guide)
If you’re passionate about cooking and looking for a creative way to grow your own ingredients, you’re going to love this: growing chilies in plastic bottles. This clever, sustainable gardening method turns simple household waste into mini chili gardens—perfect for small spaces, balconies, and even kitchen windowsills.
Whether you’re dreaming of fiery jalapeños, smoky Thai peppers, or even sweet bell peppers, this guide will walk you through everything you need to know to grow chilies at home using plastic bottles. It’s simple, eco-friendly, and incredibly rewarding.
—
Why Grow Chilies in Plastic Bottles?
Urban gardening is booming, and for good reason. People are finding smart ways to grow their own food without a yard—and reusing plastic bottles is a perfect solution. Here’s why:
Eco-friendly: Repurpose plastic waste and reduce your carbon footprint.
Space-saving: Ideal for small apartments, balconies, or sunny kitchen counters.
Budget-friendly: No fancy pots or raised beds required—just what you already have.
—
What You Need to Get Started
Before we get our hands dirty, gather these basic supplies:
2-liter plastic bottles (as many as you want to plant)
Chili seeds or seedlings
Potting soil (preferably well-draining)
Scissors or a sharp knife
A small nail or skewer (for drainage holes)
A sunny spot (at least 6 hours of sunlight daily)
—
Step-by-Step: Growing Chilies in Plastic Bottles
1. Prepare Your Plastic Bottles
Start by washing and drying your bottles thoroughly. Then:
Cut the bottle horizontally, about two-thirds of the way down.
Save both halves. The bottom becomes your planter; the top will act as a mini greenhouse.
2. Add Drainage Holes
Use a nail, knife tip, or skewer to poke 3–4 small holes in the bottom of each bottle base. This ensures proper drainage and prevents root rot.
3. Fill with Potting Soil
Scoop potting mix into the bottom half of each bottle. Leave about 1 inch of space from the rim to prevent overflow when watering.
> Pro Tip: Use a mix that includes compost or perlite for extra nutrients and better drainage.
4. Select and Plant Your Chili Variety
Choose a chili that matches your taste preferences:
Spicy: Jalapeños, cayenne, bird’s eye, or habanero
Mild: Bell peppers or banana peppers
For seeds: Plant them about 1/4 to 1/2 inch deep and lightly cover with soil.
For seedlings: Gently place them in the center, burying the roots and patting the soil firmly around the base.
—
Caring for Your Chili Plants
5. Watering & Sunlight
Chilies love the sun, so place your bottle planters on a balcony, windowsill, or anywhere they’ll get 6–8 hours of direct sunlight. Water when the top inch of soil feels dry.
> Avoid overwatering—too much moisture can cause root rot.
6. Use the Bottle Top as a Mini Greenhouse
Here’s where the bottle top comes in:
Flip it upside down and place it over the seed or seedling like a dome.
This creates a humidity-rich microclimate, perfect for germination and early growth.
As the plant grows, remove the top to avoid overheating and allow better airflow.
—
When and How to Harvest Your Homegrown Chilies
Most chili varieties mature within 60–90 days. You’ll know they’re ready when:
They’ve reached full size and color
The skin is glossy and firm
They pull away from the stem easily
Use clean scissors or snip them off by hand—carefully, especially if they’re hot!
—
Final Thoughts: Small Steps, Big Flavor
Growing chilies in plastic bottles is more than a gardening trend—it’s a smart, sustainable way to spice up your life. With just a bit of effort and creativity, you can enjoy homegrown heat all year long, even in the smallest of spaces.
So grab those bottles, pick your favorite chili seeds, and start your spicy adventure today.
—
Keywords to target:
grow chilies in plastic bottles
plastic bottle gardening
chili gardening for beginners
how to grow chilies at home
DIY bottle planter for chili peppers

